


HP NextGel Polymeric Paver Sand | Step-by-Step Installation
Introduced in 2015, HP NextGel quickly became one of the most trusted polymeric sands in the hardscape industry. In addition to offering unmatched strength and durability, our high-performance sand benefits from the NextGel technology, a revolutionary manufacturing process that allows for superior ease of installation.
Easier, Faster, and Cleaner Paver Installations
Exclusive to Techniseal, the NextGel technology improves the basic properties of jointing sand, making it easier to spread, faster to activate, and cleaner to install than any competing product on the market. Its straightforward 3-step application process allows hardscapers to always work with confidence when installing pavers in commercial, residential, and public areas.
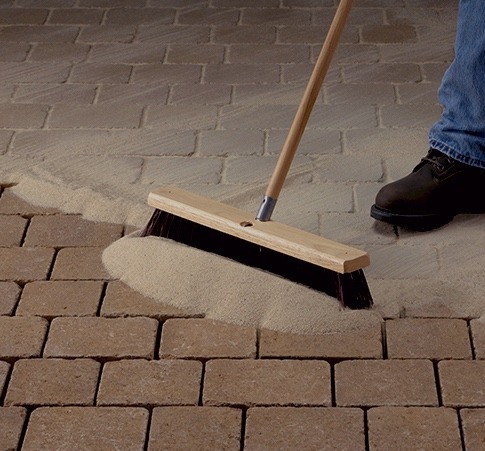
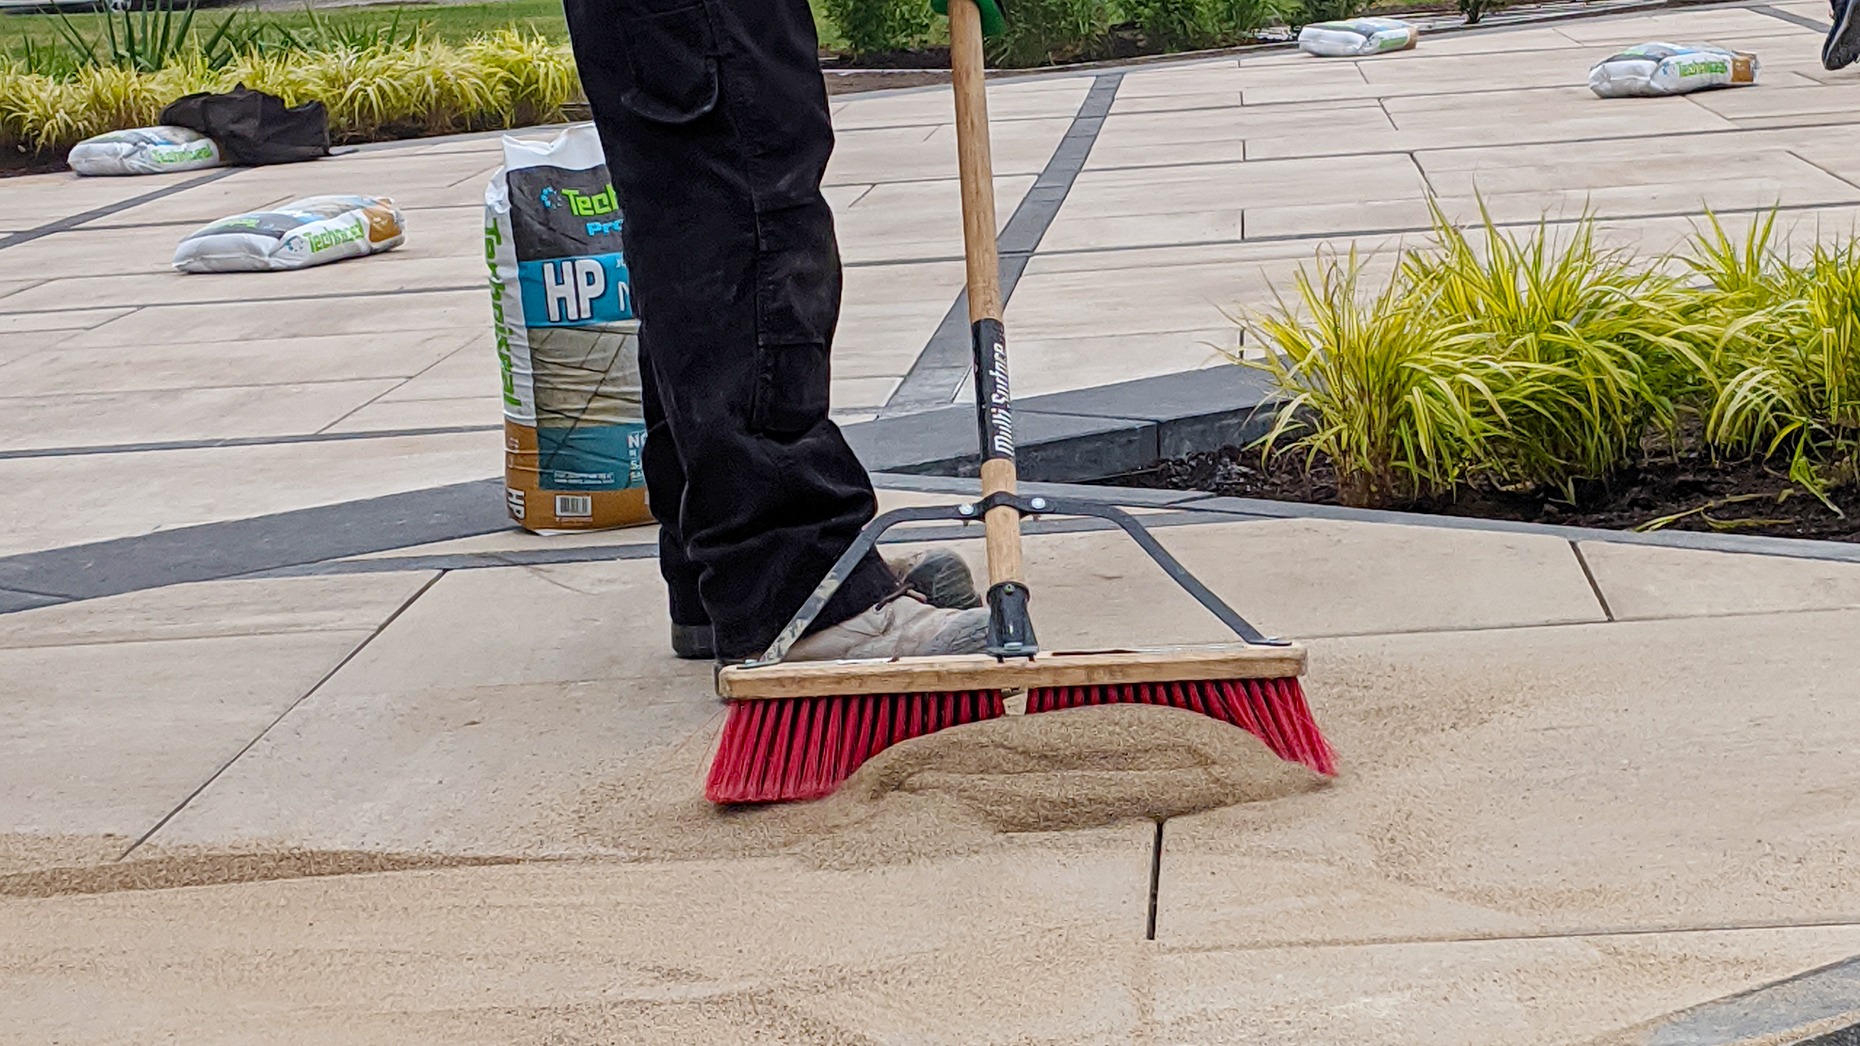
Step 1 - Spread the Polymeric Sand Across the Surface
To begin, start spreading HP NextGel evenly on a small section at a time. Using a tough-bristle street broom, fill joints completely by always pushing the sand over short distances.
Step 2 - Compact the Jointing Sand
Next, pass the compactor plate or paver roller over the entire surface to properly compact the sand. According to the best practices for mechanical compaction outlined by the ICPI, compaction should always be done, starting from the center of the surface going towards the edges.
Once the sand has been compacted the first time, repeat the first and second steps until joint saturation is reached. As a rule of thumb, a properly compacted surface should not allow a finger to sink into the joints.
Before moving on to the next step, remove excess sand from the surface using a tough-bristle broom. Then, level the sand's height with a leaf blower so that it is at least 1/8" below the top of pavers or up to the chamfer's bottom.
Step 3 - Activate the Polymeric Sand with Water
To activate the polymeric sand, begin by quickly showering the surface with a water hose nozzle. Always start from the bottom of the slope, working on a 200 sq. ft. section at a time.
Immediately afterward, wet the same section for an additional 30 seconds until the joints are saturated. Check for water accumulation at the surface as a cue to stop showering the sand.
Important: Before any installation, make sure to carefully read this product's technical data sheet for detailed instructions specific to each paving material.
Once the installation process is complete, block access to all vehicular traffic for a minimum of 48/72 hrs to allow the joints to dry completely.
HP NextGel - Often Imitated, Never Duplicated
The first true "No Haze, No Dust" polymeric sand on the market, our high-performance HP NextGel jointing product, has often been imitated without ever being duplicated.
Ideal for high-humidity environments, sloped terrain, and heavy vehicular traffic areas, HP NextGel is always your best option for beautiful, long-lasting paver installations.
To learn more about HP NextGel or any other Techniseal product, make sure to visit our website today.